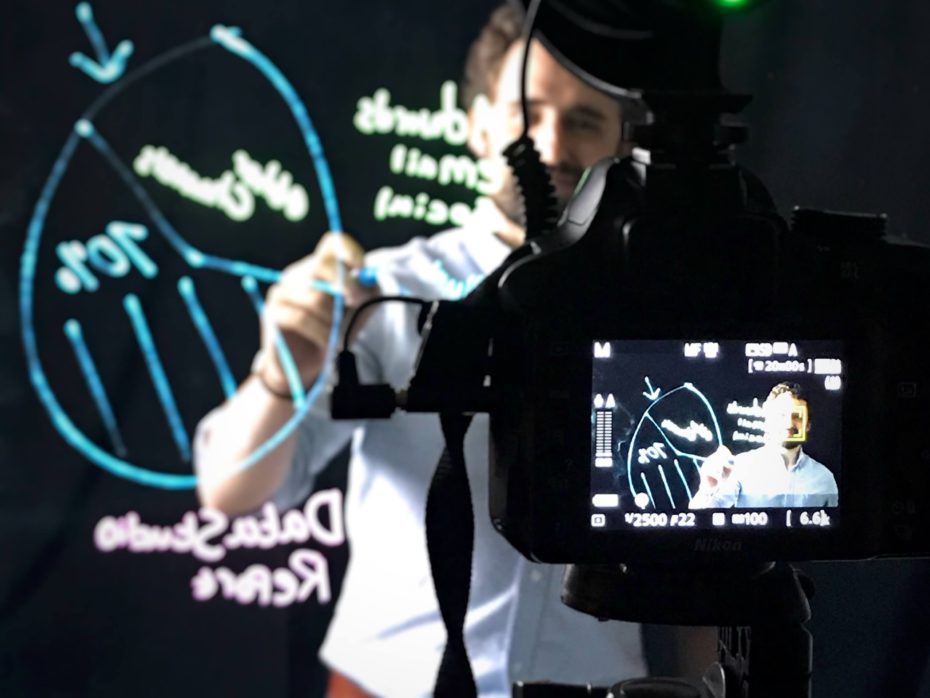
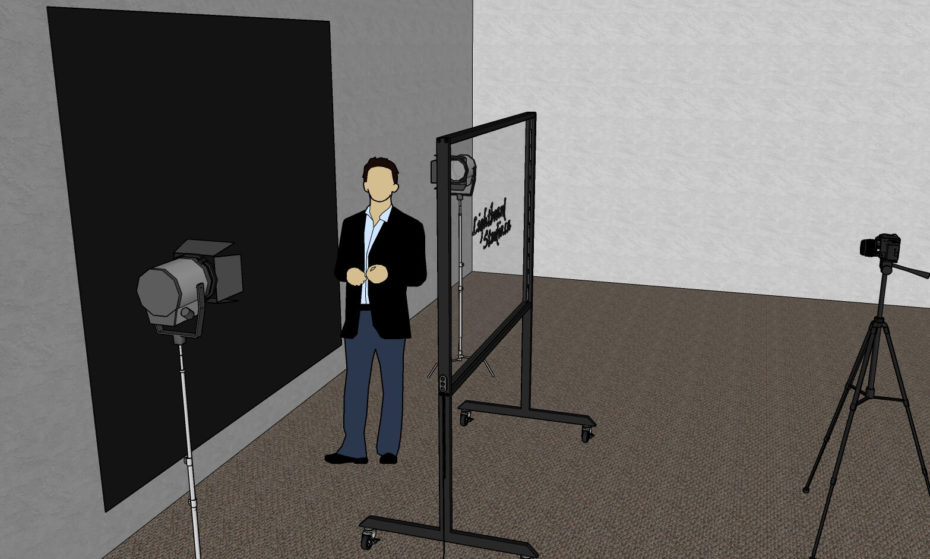
DSLR
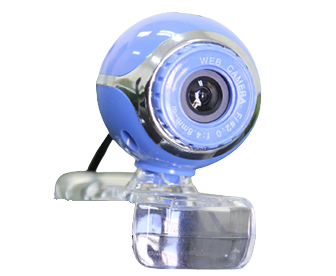
Webcam
Smartphone
DSLR
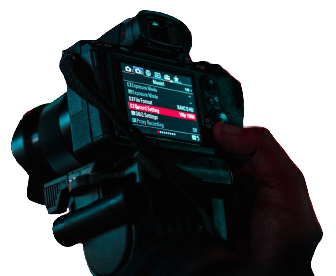
- 8 Aperture
- 50 to 100 shutter speed. Do not exceed 100 as this will conflict with the Lightboard lighting
- 800 ISO, but adjust as required to make the footage brighter or darker
Webcam
Smartphone

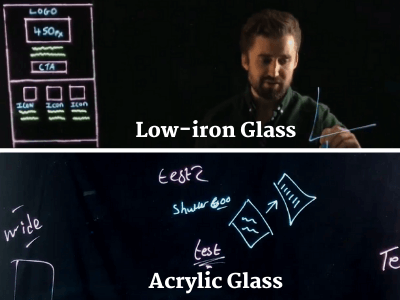
The Lightboard video above was taken on an iPhone 6S. Depending on your device, you will need to find how to adjust the brightness level (Or ISO, Shutter Speed or Aperture (Use DSLR settings if this is the case)).
You can download apps on the App Store or Google Play Store that will enable this option for you if your device doesn’t offer it by default.
Light up Learning Online
Based in Toronto, Ontario, Canada.
Proudly Canadian.